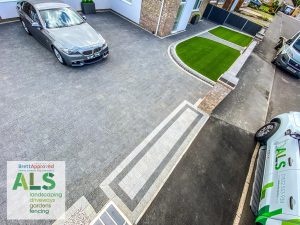
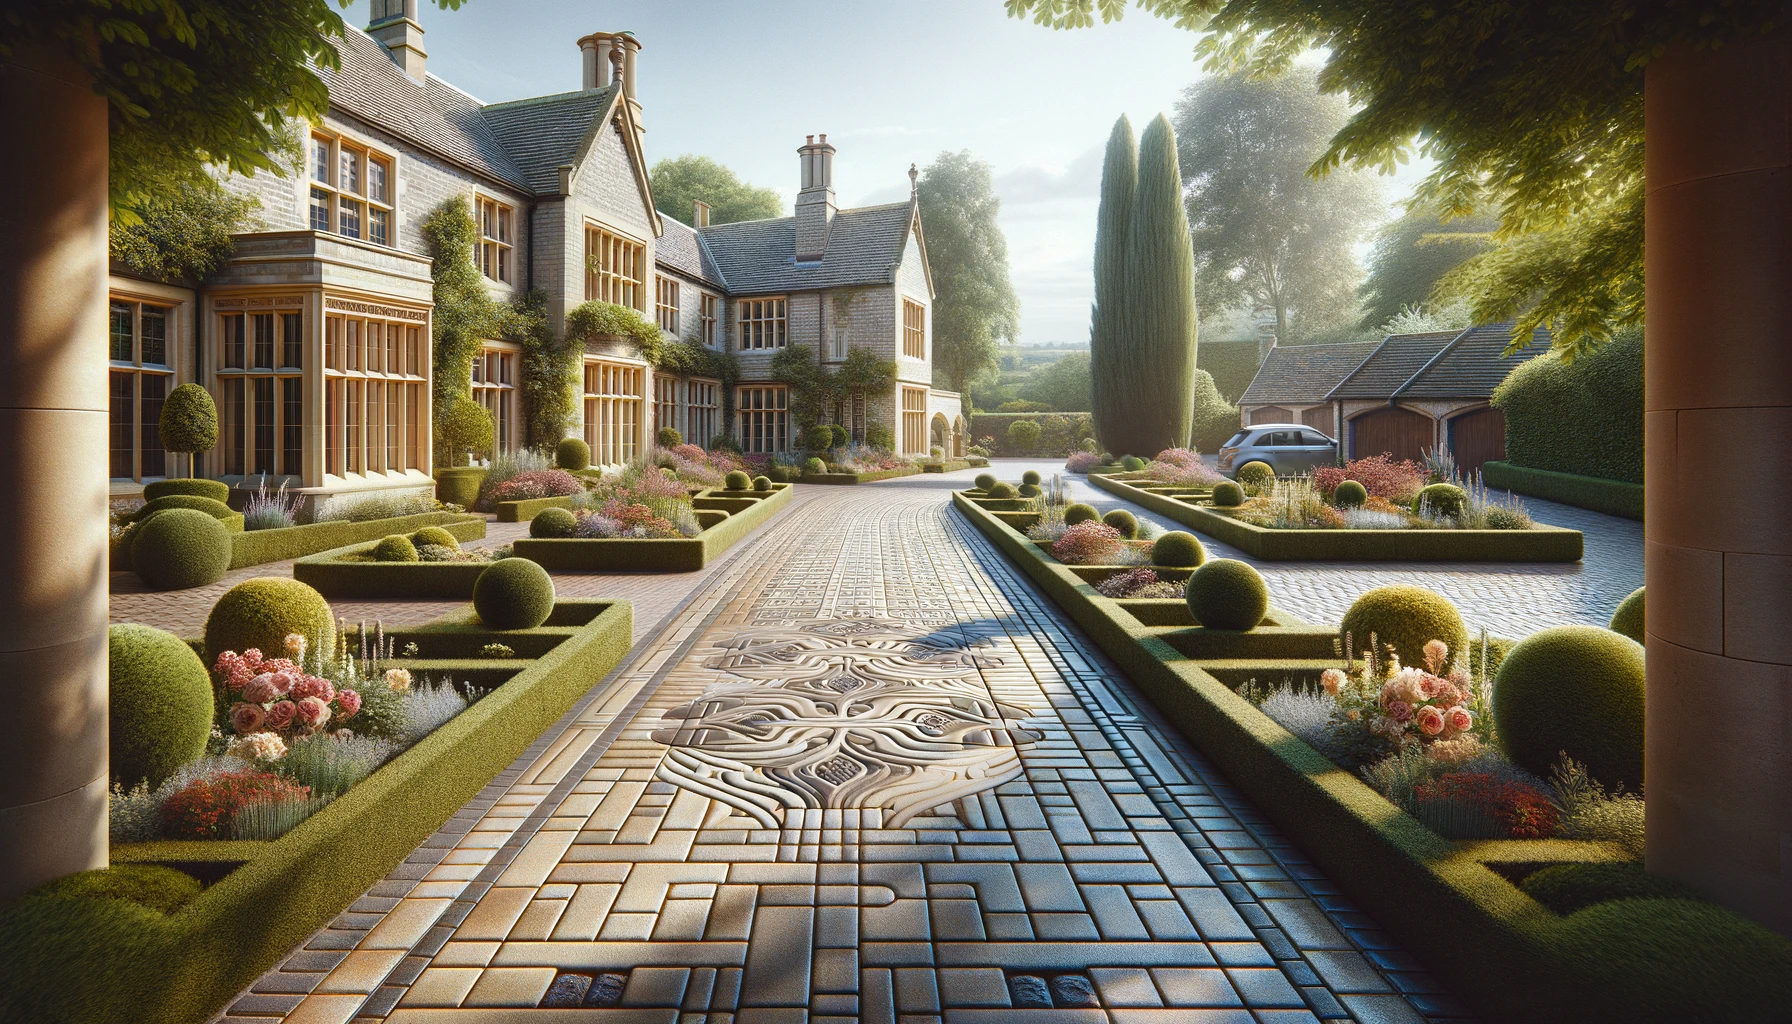
We’re already halfway through Summer 2024, although it hasn’t felt much like Summer this year. As always many homeowners are looking for ways to improve their property’s curb appeal. One of the best ways to do this with the most impact is by upgrading your driveway by resurfacing it.
Over time, driveways take a lot of punishment and wear and tear from vehicles, weather, and general use. Resurfacing not only improves the aesthetic appeal but also extends the life of your driveway, making it a wise investment.
In this guide, we’ll explore the benefits of driveway resurfacing, the best materials to use, and a step-by-step process to help you achieve the best results.
Why Resurface Your Driveway?
Driveways are exposed to constant stress from heavy vehicles, changing weather conditions, and chemical spills. Over time, this can lead to cracks, potholes, and surface wear. Resurfacing is a process that involves applying a new layer of material over the existing surface, effectively restoring its appearance and functionality.
Key Benefits of Resurfacing:
Improved Curb Appeal:
A newly resurfaced driveway looks fresh and clean, instantly boosting your home’s exterior appearance.
Increased Durability:
Resurfacing reinforces the driveway’s surface, helping it withstand future wear and tear.
Cost-Effective:
Compared to a full replacement, resurfacing is more affordable while still delivering significant improvements.
Extended Lifespan:
Regular resurfacing can add years to the life of your driveway, delaying the need for more extensive repairs or replacements.
2. Choosing the Right Material for Resurfacing
The success of your driveway resurfacing project largely depends on the material you choose. Each type of material offers different benefits, so it’s essential to pick one that suits your needs, budget, and the local climate.
Popular Resurfacing Materials:
Asphalt: Asphalt is a popular choice due to its affordability and durability. It’s ideal for driveways with significant wear and tear. Asphalt provides a smooth finish and can be resealed regularly to maintain its appearance.
Concrete: Concrete is a durable and versatile option that can be customised with various finishes and colours. While it’s more expensive than asphalt, it offers a long lifespan and a clean, modern look.
Resin-Bound Gravel: Resin-bound gravel is an attractive option that combines gravel with a resin binder, creating a smooth, permeable surface. This material is excellent for creating decorative driveways with a natural appearance.
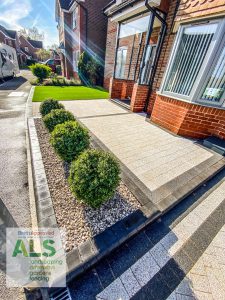
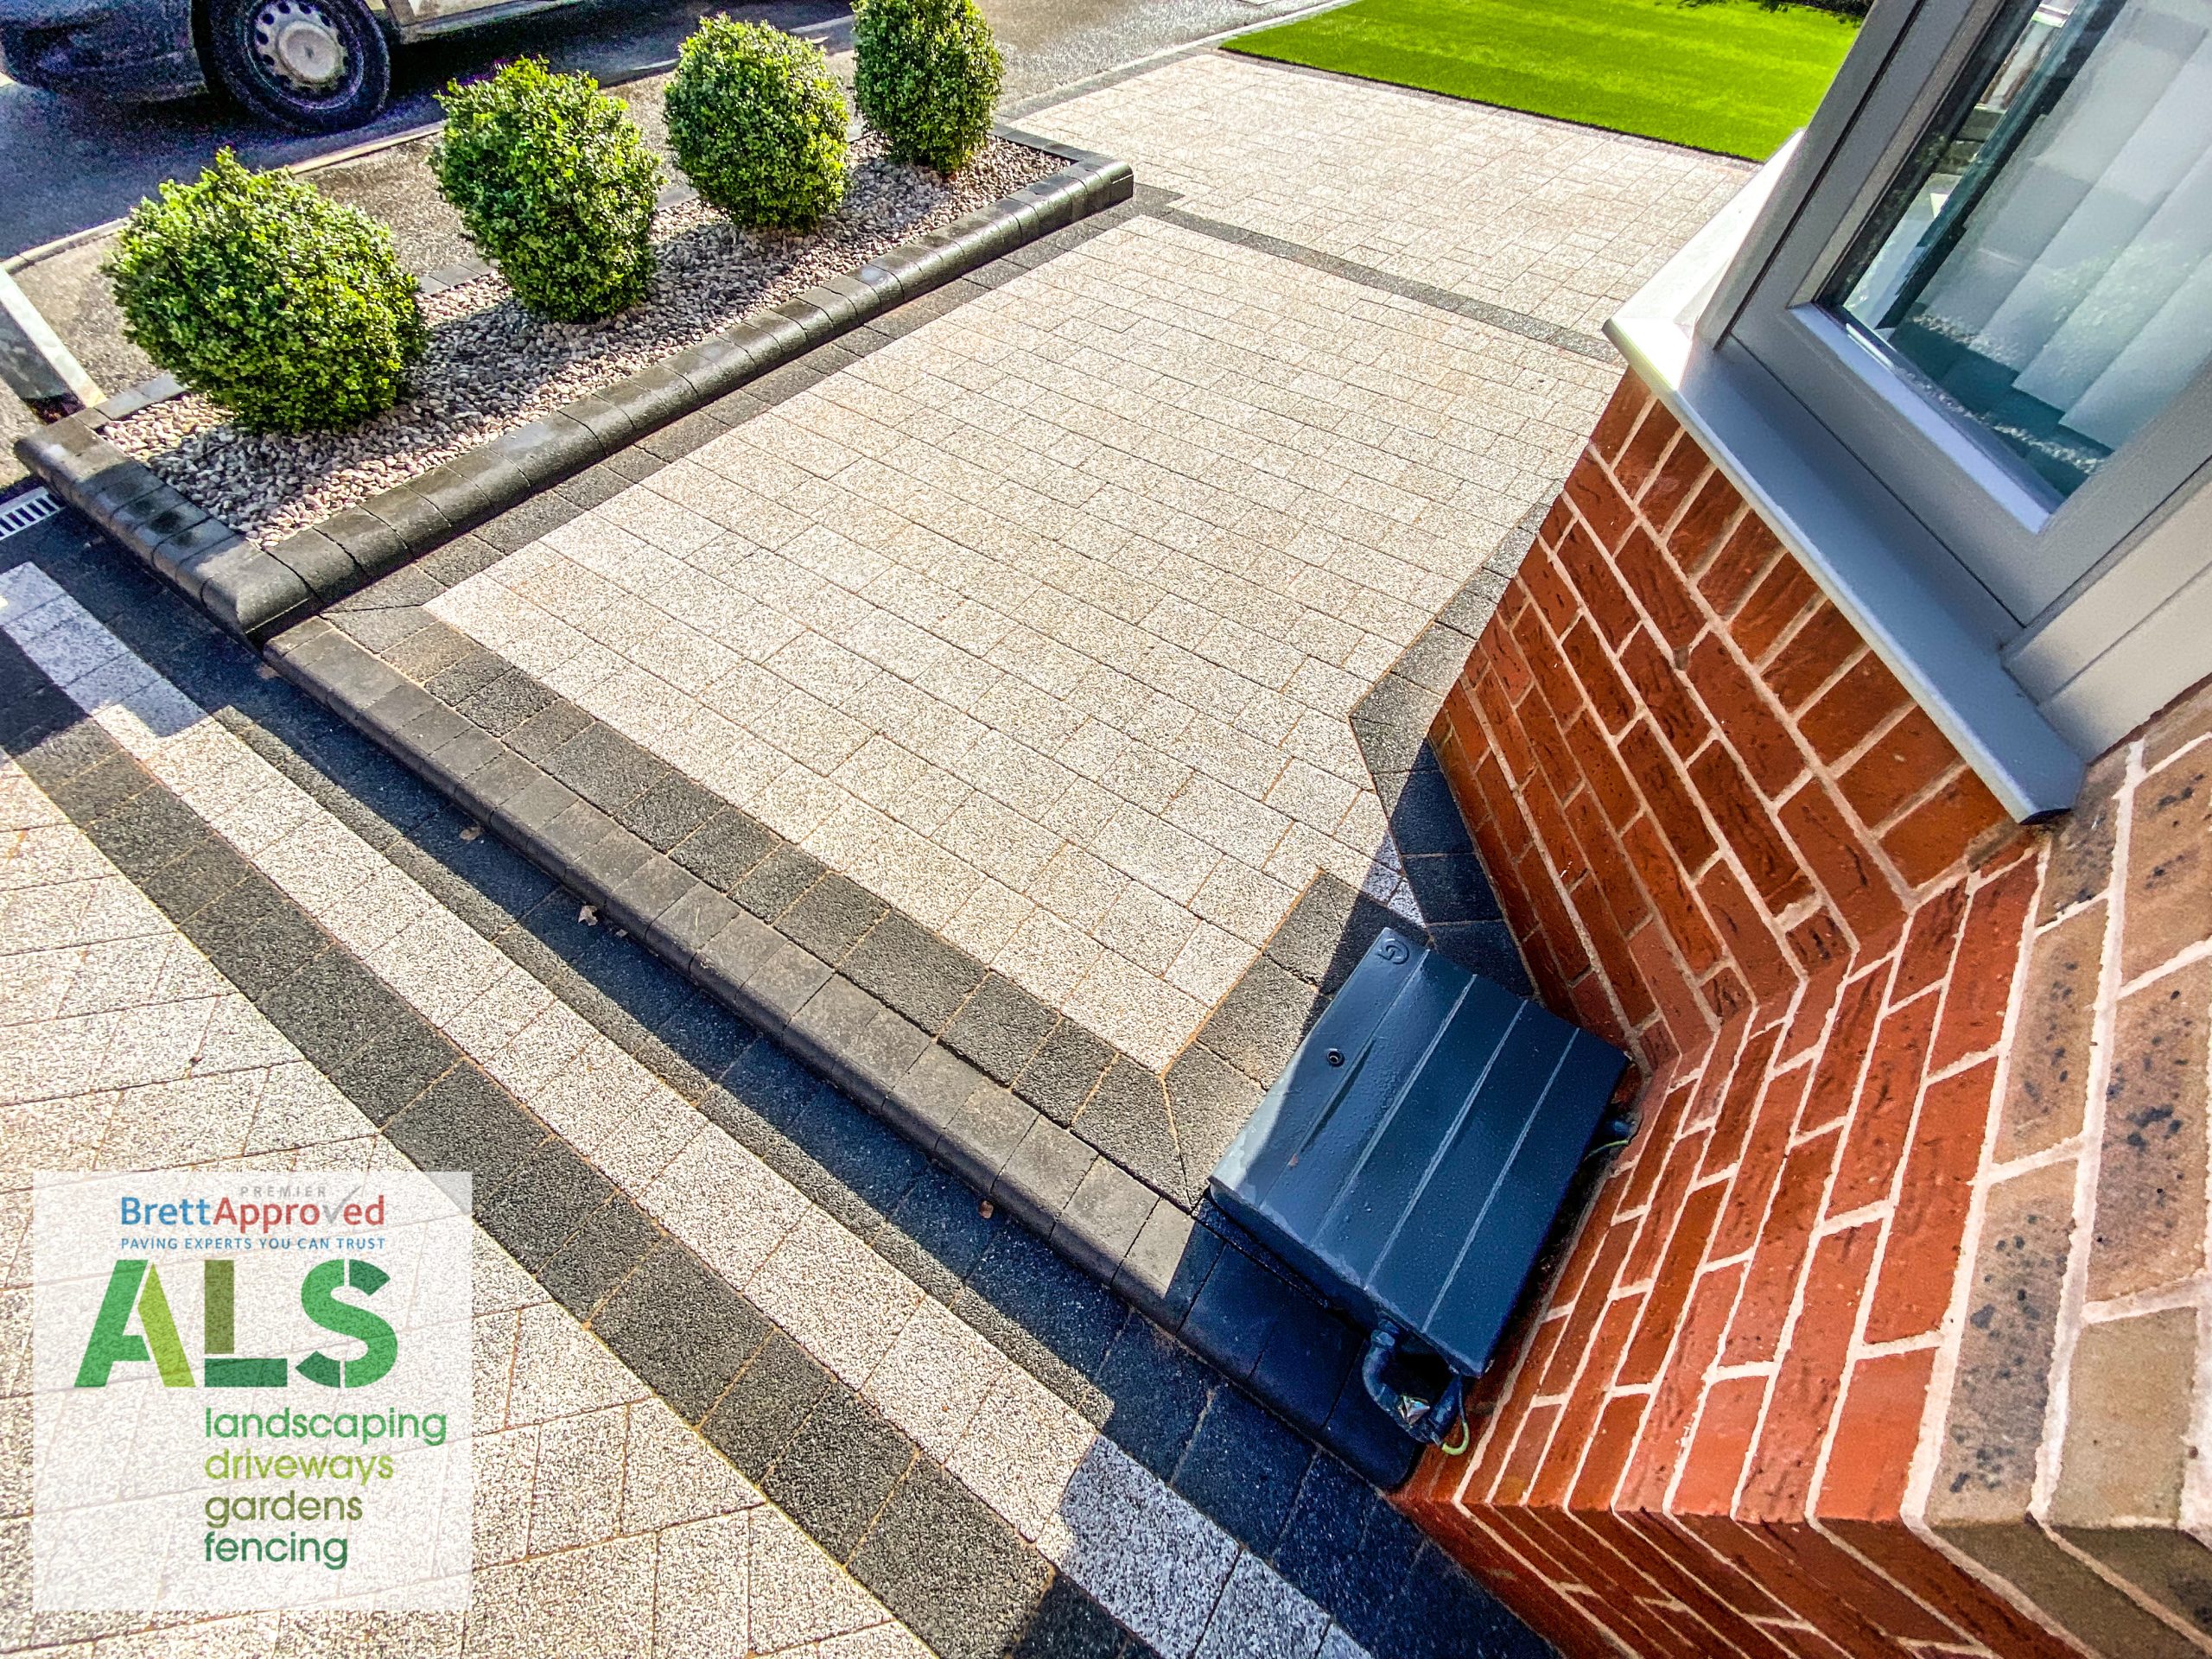
Block Paving: For those seeking a more decorative finish, block paving is an excellent option. It involves laying individual blocks in patterns, offering a range of design possibilities. Block paving is durable and easy to repair, but it can be more time-consuming and costly to install.
3. The Driveway Resurfacing Process: A Step-by-Step Guide
Resurfacing a driveway is a project that can significantly transform your property. Here’s a step-by-step guide to ensure your resurfacing project is successful:
Step 1: Inspect the Existing Surface
Before beginning the resurfacing process, thoroughly inspect your driveway. Identify any cracks, potholes, or significant damage. Minor cracks can be repaired before resurfacing, but extensive damage might require more substantial repairs or even a replacement.
Step 2: Clean the Driveway
A clean surface is essential for proper adhesion of the new material. Remove all dirt, debris, moss, and weeds from the driveway. Use a pressure washer to clean the surface thoroughly, ensuring that it’s free of oil stains and other contaminants.
Step 3: Repair Cracks and Holes
Fill in any cracks or potholes with an appropriate filler. For asphalt driveways, use an asphalt patching compound, and for concrete driveways, use a concrete repair mix. Smooth out the filler with a trowel and allow it to dry completely.
Step 4: Apply a Bonding Agent
A bonding agent helps the new surface material adhere to the existing driveway. This is particularly important if you’re resurfacing with concrete or asphalt. Apply the bonding agent evenly across the entire surface and let it dry according to the manufacturer’s instructions.
Step 5: Mix and Apply the Resurfacing Material
Prepare the resurfacing material according to the manufacturer’s instructions. Begin applying the material at one end of the driveway, working your way across the surface. Use a trowel, squeegee, or paving machine to spread the material evenly. Ensure the surface is smooth and level, avoiding any pooling or uneven areas.
Step 6: Finish and Cure the Surface
Once the resurfacing material is applied, finish the surface according to your desired texture. For concrete, you might choose a broom finish for added traction. Allow the surface to cure completely, which can take 24 to 48 hours depending on the material and weather conditions.
Step 7: Seal the Surface (Optional)
For added protection, consider sealing the resurfaced driveway. Sealing helps to protect the surface from moisture, UV rays, and chemical spills, extending the life of your driveway. Apply the sealant evenly and allow it to dry completely before using the driveway.
4. Maintaining Your Resurfaced Driveway
After resurfacing, proper maintenance is key to keeping your driveway in top condition. Regular cleaning, prompt repairs of minor cracks, and periodic resealing (if applicable) will help maintain the appearance and durability of your driveway.
Maintenance Tips:
Regular Cleaning: Sweep the driveway regularly to remove debris and prevent stains. For stubborn stains, use a mild detergent and a scrub brush.
Crack Repairs: Address any new cracks or holes as soon as they appear to prevent them from worsening.
Resealing: For asphalt and concrete driveways, consider re-sealing every 2 to 3 years to maintain a protective layer.
5. Is Driveway Resurfacing Right for You?
Driveway resurfacing is an excellent option if your existing driveway is structurally sound but shows signs of surface wear and tear. It’s a cost-effective solution that can add years to the life of your driveway and improve your home’s curb appeal without the expense and disruption of a full replacement.
However, if your driveway has extensive damage, such as large cracks, deep potholes, or drainage issues, resurfacing may only be a temporary fix. In such cases, it might be worth considering a complete driveway replacement to ensure a long-lasting solution.
For more on driveway maintenance and ensuring the longevity of your investment, check out our blog on “Maintenance and Enhancement Tips”, which provides valuable advice on protecting your driveway throughout the year.
6. Conclusion
Resurfacing your driveway this summer is a smart way to refresh your home’s curb appeal and protect your investment. By choosing the right materials, following a careful process, and maintaining the surface regularly, you can enjoy a beautiful, durable driveway for years to come. Whether you opt for asphalt, concrete, resin-bound gravel, or block paving, a well-executed resurfacing project can make a significant difference in your property’s overall appearance.
If you’re ready to refresh your driveway and want professional assistance, ALS Driveways is here to help. Contact us today to discuss your project and receive a quote tailored to your needs. Our experienced team is committed to delivering high-quality results that will stand the test of time.
FAQs
- What are the main benefits of resurfacing my driveway?
Resurfacing your driveway improves its appearance, increases durability, and extends its lifespan. It’s a cost-effective way to restore your driveway without needing a full replacement, making it look fresh and clean while also protecting it from further wear and tear.
- What materials can I use for driveway resurfacing?
Common materials for resurfacing include asphalt, concrete, resin-bound gravel, and block paving. Each material offers different benefits, such as affordability, durability, and aesthetic appeal, so choose one that suits your needs and budget.
- How do I know if my driveway needs resurfacing?
If your driveway is structurally sound but shows signs of surface wear, such as cracks, minor potholes, or fading, resurfacing is likely a good option. However, if there is extensive damage like deep potholes or drainage issues, a full replacement might be necessary.
- What is the process for resurfacing a driveway?
The process involves inspecting and cleaning the existing surface, repairing any cracks, applying a bonding agent, and then applying the new resurfacing material. Finally, the surface is finished and allowed to cure, with optional sealing for added protection.
- How should I maintain my resurfaced driveway?
Regular maintenance includes sweeping to remove debris, promptly repairing any new cracks, and resealing the surface every 2 to 3 years for asphalt and concrete driveways. Proper maintenance will help maintain its appearance and durability over time.